Friday, February 28, 2020

Change Your Perspective.


About a year and a half ago I took an art quilt class with my local guild. One exercise was to create a picture with 3 of the same item in it.


I was using scraps of fusible fabric and I found a shape that looked like a tree and thought that was a great shape.  I cut out two more and fused it to the background fabric.  But when it came time to finish out the picture, I was stuck.  It was a great shape but I didn’t know what to do with it other than make them look like Christmas trees.  I didn’t want that.


So I took it to my small quilting group meeting and asked for advice.  They gave me the best advice ever: “Turn the picture 90 degrees” 


When I did that, my three tree shapes took on the look of three stylized fish.  I am now in love again with these three shapes. 


I did the same thing with a challenge block from 2017.  I love the heart icon and use it whenever I can.  So when I did a challenge block with the theme “Home is Where the Heart is”, I knew I had to use a heart.

But how do you make a home in the shape of a heart.   Well, you turn it upside down. 


Which is exactly what I did and what is more I made it into a traveling home as in an RV.


Sometimes when you need a different look or what you are working on doesn’t quite look the way you want it to, turn it another way; look at it from a different perspective. Even if you don’t complete the project in the different perspective position, just turning it might give you the inspiration you need to finish it or become inspired.  Not all trees need to remain as trees and not all hearts have to be right side up.

©2020  Cheryl Fillion


Friday, February 21, 2020

Challenges – I Did Another One, Part 2


Last week I told you about designing my challenge block for this year’s local Quilt Show.  When I received the fabric packet, I didn’t realize there were two fabrics I was required to use and I had designed my block with only one challenge fabric.  After considering some different ways to change my original star, I came up with a smaller 4 pointed star in the center of the bigger eight pointed star.


Having figured out what to do with the fabric for my challenge block, I now found I had another design problem, I wanted to use silver metallic thread for my buttonhole appliqué but the accent fabric actually had gold metallic designs in it. Do I change the thread to gold or do I keep it silver?  I didn’t want to start stitching and find I didn’t like the thread color so I laid some of each thread against the accent color to see how it looked. 


I found I really couldn’t see much difference of the silver or gold metallic thread on the accent fabric.  Since I like the look of silver more so than gold I decided to use the silver metallic thread on both the white and the accent fabric. I mentioned last week that th tricky part of using metallic thread especially with hand stitching is that it unravels the more you pull it through the fabric. 

The second tricky part I learned as I stitched is that in gets little kinks in it so it is hard to pull it through the fabric especially since I was using double thread so you could see the stitches clearly. .  But I found if I went slow, I could un-kink it and finish my stitching. 

One other thing with metallic thread, if you are making something you will touch a lot or maybe lay your face on like a pillow, I wouldn’t use it.  It tends to feel rough against the skin.  But boy does it sparkle.  I like how it looks. 

When I finished stitching the star down on the background fabric, I felt that the block needed something else.  It was so stark with the bright star on the dark back ground.  So I decided to try some French knots around the star.  I wanted these to sparkle so I used some tatting thread with my silver metallic thread.  I also stitched slowly with these stitches because I was worried that twisting the thread around the needle would kink up the silver thread.   But it didn’t.  What did happen was that since the tatting thread was thicker than the metallic thread, stitching the French knots used up more of the metallic thread.  I would start out with the same length of each but after doing about 4 knots, I would have a lot more tatting thread left.


One other thing I noticed was since the metallic thread was so thin; it really is hard to see it in the French knots.  Yet I found every once in a while I could see a little glimmer from the knots and that made a nice little surprise.  I like doing challenges.  It gives me a chance to experiment with new techniques or materials and you never know what you will end up with.  Take my advice, give a challenge a try.

©2020  Cheryl Fillion


Saturday, February 15, 2020

Challenges – I Did Another One


I wrote about a quilt block challenge I did with my quilt guild back in March of 2017. Well I am doing another one this year.  (I actually do one every year but this year brought some lessons.)

Our block challenges always have a theme and this year the theme is stars (Our quilt show theme is Dancing Stars).  Well I had lots of ideas.  I thought first about doing a block of various embellishment type stars from felted stars to punch needle stars to sequin stars all on the same background.  Well, when I drew it out, it just looked too busy. 

Then I saw an embroidery design of stars and became attracted to this star shape. I know it looks like the star shining down on Bethlehem at Christmas but I really liked the shape. I thought it would be a little different from other stars that might be made.


I wanted this star to be appliquéd and I do my best appliqué with the buttonhole stitch. And to make the star sparkle, I decided to use some metallic thread to do the buttonhole stitch.   Using metallic thread can be tricky at times with hand stitching.  As the thread is repeatedly pulled through the fabric, it might unravel and shred.  Usually when stitching by hand, I cut a thread that is about 18 inches in length but with metallic thread, I took about a 8-12inch thread.

Now one thing to do when doing a challenge is to read all the rules.  I didn’t.  Oops.  With our block challenge, a background fabric is usually provided and often times an accent fabric.  When I got my little baggie of fabric, I thought there was only one fabric in it, the accent fabric (which I thought was the background fabric). But there were two fabrics.  the background fabric , a navy grunge fabric and the accent fabric which looked like a starry night sky. The rules said I had to use both fabrics but could add whatever other fabric I wanted. 


My plan was for the background fabric (which remember I thought was the starry night fabric) and the white on white I choose (I tried to take a picture of it so you could see the design which was little circles but the picture always came out looking like plain white fabric.).  So now I had to adjust my design.  What to do?  The best idea with the accent fabric being dark was to add it to the white star somehow.  But how?  I tried different ideas in the center, a 5 pointed star – no.  A circle – maybe.  A heart (you know me with the heart icon) – no, that didn’t look good.  So I wondered about a 4 pointed star that would repeat the basic shape of the big star.  Fortunately I had a computer program that could create different stars and it had the shape I wanted.  (I am terrible with free hand drawing of shapes like stars.)  So I created a 4 pointed star big enough to fill the center space of my big star and show the design of the accent fabric.


I will show you how I finished the block next week.


©2020  Cheryl Fillion


Friday, February 7, 2020

Lessons Learned at the Quilt show


I wrote this blog about 3 years ago but something happened recently that reminded me of it so I thought I would repost it.  It is a good reminder for everyone.

Last week was our Guild’s quilt show.  It has been a long time since I helped with the set up of the quilt show and the take down but I did this year and as a result learned a lot of lessons.  And I realize that the lessons learned the quilt show could apply to life.


Lesson #1 – Follow the Rules.

For a Quilt show to be able to show quilts, we have to hang them on a frame or display rack.  The best way to do that is to have a “sleeve” attached to the back of the quilt.   A ‘sleeve” for a quilt is like the sleeve on a shirt.  It is a tube of fabric sewn to the quilt which allows a rod to go through the sleeve (much like an arm would) and then the quilt can be hung without damaging the quilt with pins or staples.

Our rule is that the sleeve be sewn to the quilt (you flatten the sleeve and sew the top edge and bottom edge to the quilt).  Well, one quilter sewed the top of the sleeve to the quilt but didn’t sew the bottom.  No she used glue.  It held tight to the quilt but the glue spread and closed up the sleeve.  We couldn’t get the rod through the sleeve.  We had to work at it a while to detached the glue inside the sleeve but we did it and were able to hang the quilt.

It took us longer to hang that quilt and with the glue we might have damaged the quilt trying to get the rod in the sleeve. It might have been easier for the quilter to glue it and it may even have held the sleeve to the quilt tighter but the rule was to ‘sew’ the sleeve to the quilt. 

Rules are not there to make things more difficult for everyone but are actually are there to protect people and property.  What if we couldn’t detached the glue inside the sleeve and had force the rod in and torn the back of her quilt. She wouldn’t have been happy with a torn quilt.   Or what if the glue had detached from the bottom of the sleeve and the quilt fell to the floor and was stepped on by a quilt show visitor.  Lesson #1 is follow the rules.

Lesson #2 – Expect and Accept the Unexpected. 

Once the quilt show is over, the quilts need to be taken down and returned to their owners.  There was a method to this crazy madness at the end of a show.  But one part of the plan this year took a detour.  The person in charge of the quilt distribution got upset because of the detour and assumed it was all being done wrong.   But like most detours, you get where you need to be.  And with this detour, the quilts all got to the rightful owners. 

Expect things to take a detour and before getting upset with that detour, check to see if the plan is actually ending where it was suppose to end.  And just accept that everything will turn out alright despite any detours.

Lesson #3 -- Take a Break. 

Everyone has different energy levels.  Some people are like the energizer bunnies and keep going and going.  Others can go great for an hour and two and then they are done.  Don’t push others or yourself to do more than what each person can do (even if that person is you).  I used to be an energizer bunny but now do to health (and age but I don’t like to admit that part), I need to take more breaks.  I pushed myself too hard and my legs and back let me know about it the rest of the week.  And also make sure you eat during a busy period of activity.  That, along with breaks, helps with the energy level.

Lesson #4 – Be prepared.   

Sometimes things aren’t exactly as you hope they will be, so be prepared.  There were two rooms in the building we used where the temperature couldn’t be adjusted to make it comfortable so the rooms were very cold.   When that kind of thing happens, you need to make preparations.  That may mean bringing a sweater even though the outside temperature is 80 degrees.  If you are prepared, then you feel comfortable and the people around you (who might like the cooler room temperatures) don’t have to listen to you complain or your teeth chatter.

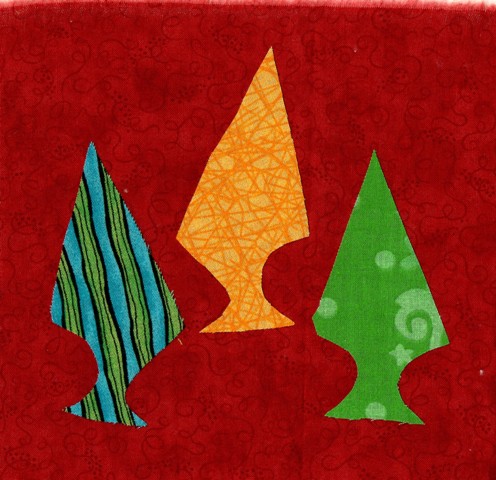
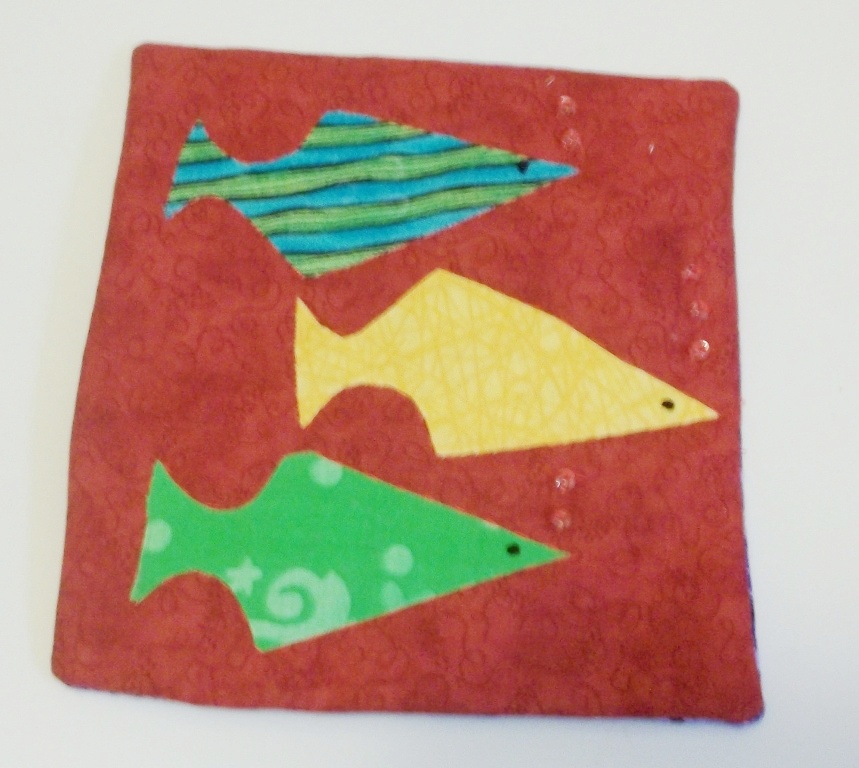
Lesson # 5 – Do a Challenge. 

An earlier blog talked about the challenge block I did for this Quilt show.  Well, I learned that once in a while if you take a challenge…


You Win!!!!

While I thought of these lessons during the quilt show about the quilt show, they actually apply in life.   To get along with everyone and so everything works properly you have to follow the rules.  Know that detours will occur so expect and accept the unexpected.  Take breaks, in other words take care of yourself.  You can’t do what you want to do with family, friends or your creativity if you push yourself too hard and don’t have any energy.  Be prepared.  Try to think of everything you might need before you do something so you can be comfortable and enjoy what you are doing. And finally, sometimes you win.


 © 2017, 2020  Cheryl Fillion