I posted this a couple of years ago. Since I love spool knitting and pumpkins so
much, I thought I would share it with you again. This would be a great holiday gift to give or
get your kids to give.
I like decorating for all holidays (I go crazy over board at
Christmas) but for some reason I really like putting out pumpkins and Jack
O’Lanterns for Halloween and Thanksgiving.
Since I have been talking about spool knitting in this blog,
I decided I needed a new pumpkin decoration.
This also give me a chance to show how to change colors while spool
knitting.
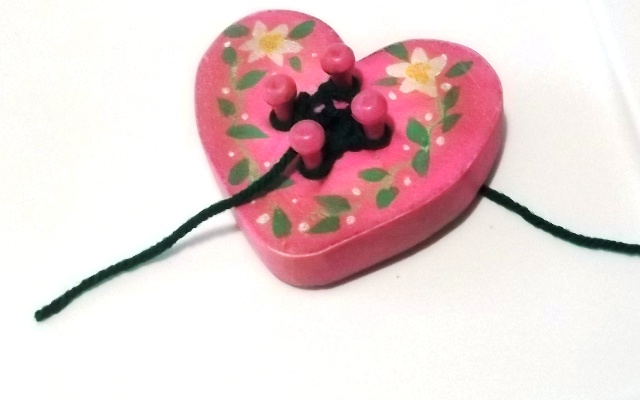
So I pulled out my bigger spool knitter and started
knitting with green yarn for the stem of the pumpkin. Now I could finish off
the knitting (as described in the blog post ‘Spool Knitting Tutorial’) and then
later sewn it to the orange cording for the pumpkin body.
 |
| Start stem |
But I wanted a continuous cord for this ornament.
This means I have to
change color while knitting. It is easy
to do. When you have the amount of
color cording you want ( I knitted about 1 ½ inches), cut the yarn coming from
your skein about 3 inches. Make sure
the yarn doesn’t come off the pegs.
 |
| Green in knitter |
Lay your next color next to the yarn you just cut and tie
the two colored yarn together with a simple over hand knot . Now continue knitting as before.
 |
| adding orange yard |
 |
| knot two colors together |
When the knot gets to the knitting, I usually take my
knitting tool and push the knot into the center of the cord so it is hidden.
 |
| close up of knot |
When I think I have enough coil, I usually make whatever
shape I am planning just to make sure I have knitted enough but I don’t sew it
yet. If I need to do a little more, I
do. I finish off the coil and remove it
from the knitter.
 |
| Measure Size |
To make my pumpkin, I start making a round shape starting
with the end of the orange part of the coil. I fold the edge over maybe ¾” and
start stitching at the fold. I do use a
pin to hold the fold together and once I have it stitched, I remove the pin.
 |
| Start pumpkin |
You can sew the coil together with the yarn you used or
regular sewing thread that matches the color of the yarn. For me the thread is easier to control and if
it matches the color, it will blend in with the yarn. (For these pictures I am
going to use a darker thread so you can see how I stitch it.)
I don’t sew right along the edge but try to hide my stitches
in the area between coils. As I stitch I
just keep rolling the coil in shape until I get a nice round shape.
 |
| Close up of start |
Make sure your needle goes through both sides of the area
being sewn. In other words catch with
the needle the coil already sewn in the shape you are making and then in the
coil being added to the shape.
 |
| close up of stitch |
 |
| Another close up of stitch |
Continue sewing until you come to the end of the orange part
of the knitted cord. The green part I
started with will be the stem of the pumpkin so that won’t be sewn down as with
the orange. This needs to stick up. If for some reason the stem doesn’t stay up,
you can sew a couple of tack stitches right at the base of the stem to stabilize
it (right where the pin is.) But remember not all pumpkin stems are straight. J
 |
| Finished Pumpkin |
So here is our finished pumpkin. It is about 5” wide by 5” high (6 ½” if you include the stem. It can be used as a coaster or just a
table decoration or string some yarn though the stem and hang it from a
Halloween tree (if you do that) or on the wall.
©2016. 2018 Cheryl Fillion


No comments:
Post a Comment